Field Notes: Modifying Assets
Buy or build is a false dichotomy. Modifying assets is an easy way to get exactly what you need.

Remember that console pack I bought? The one where I said I could spend hours modeling custom assets, or drop money on a pack and focus on actual development?
Turns out, sometimes you have to touch Blender anyway.
The Nail That Sticks Out...
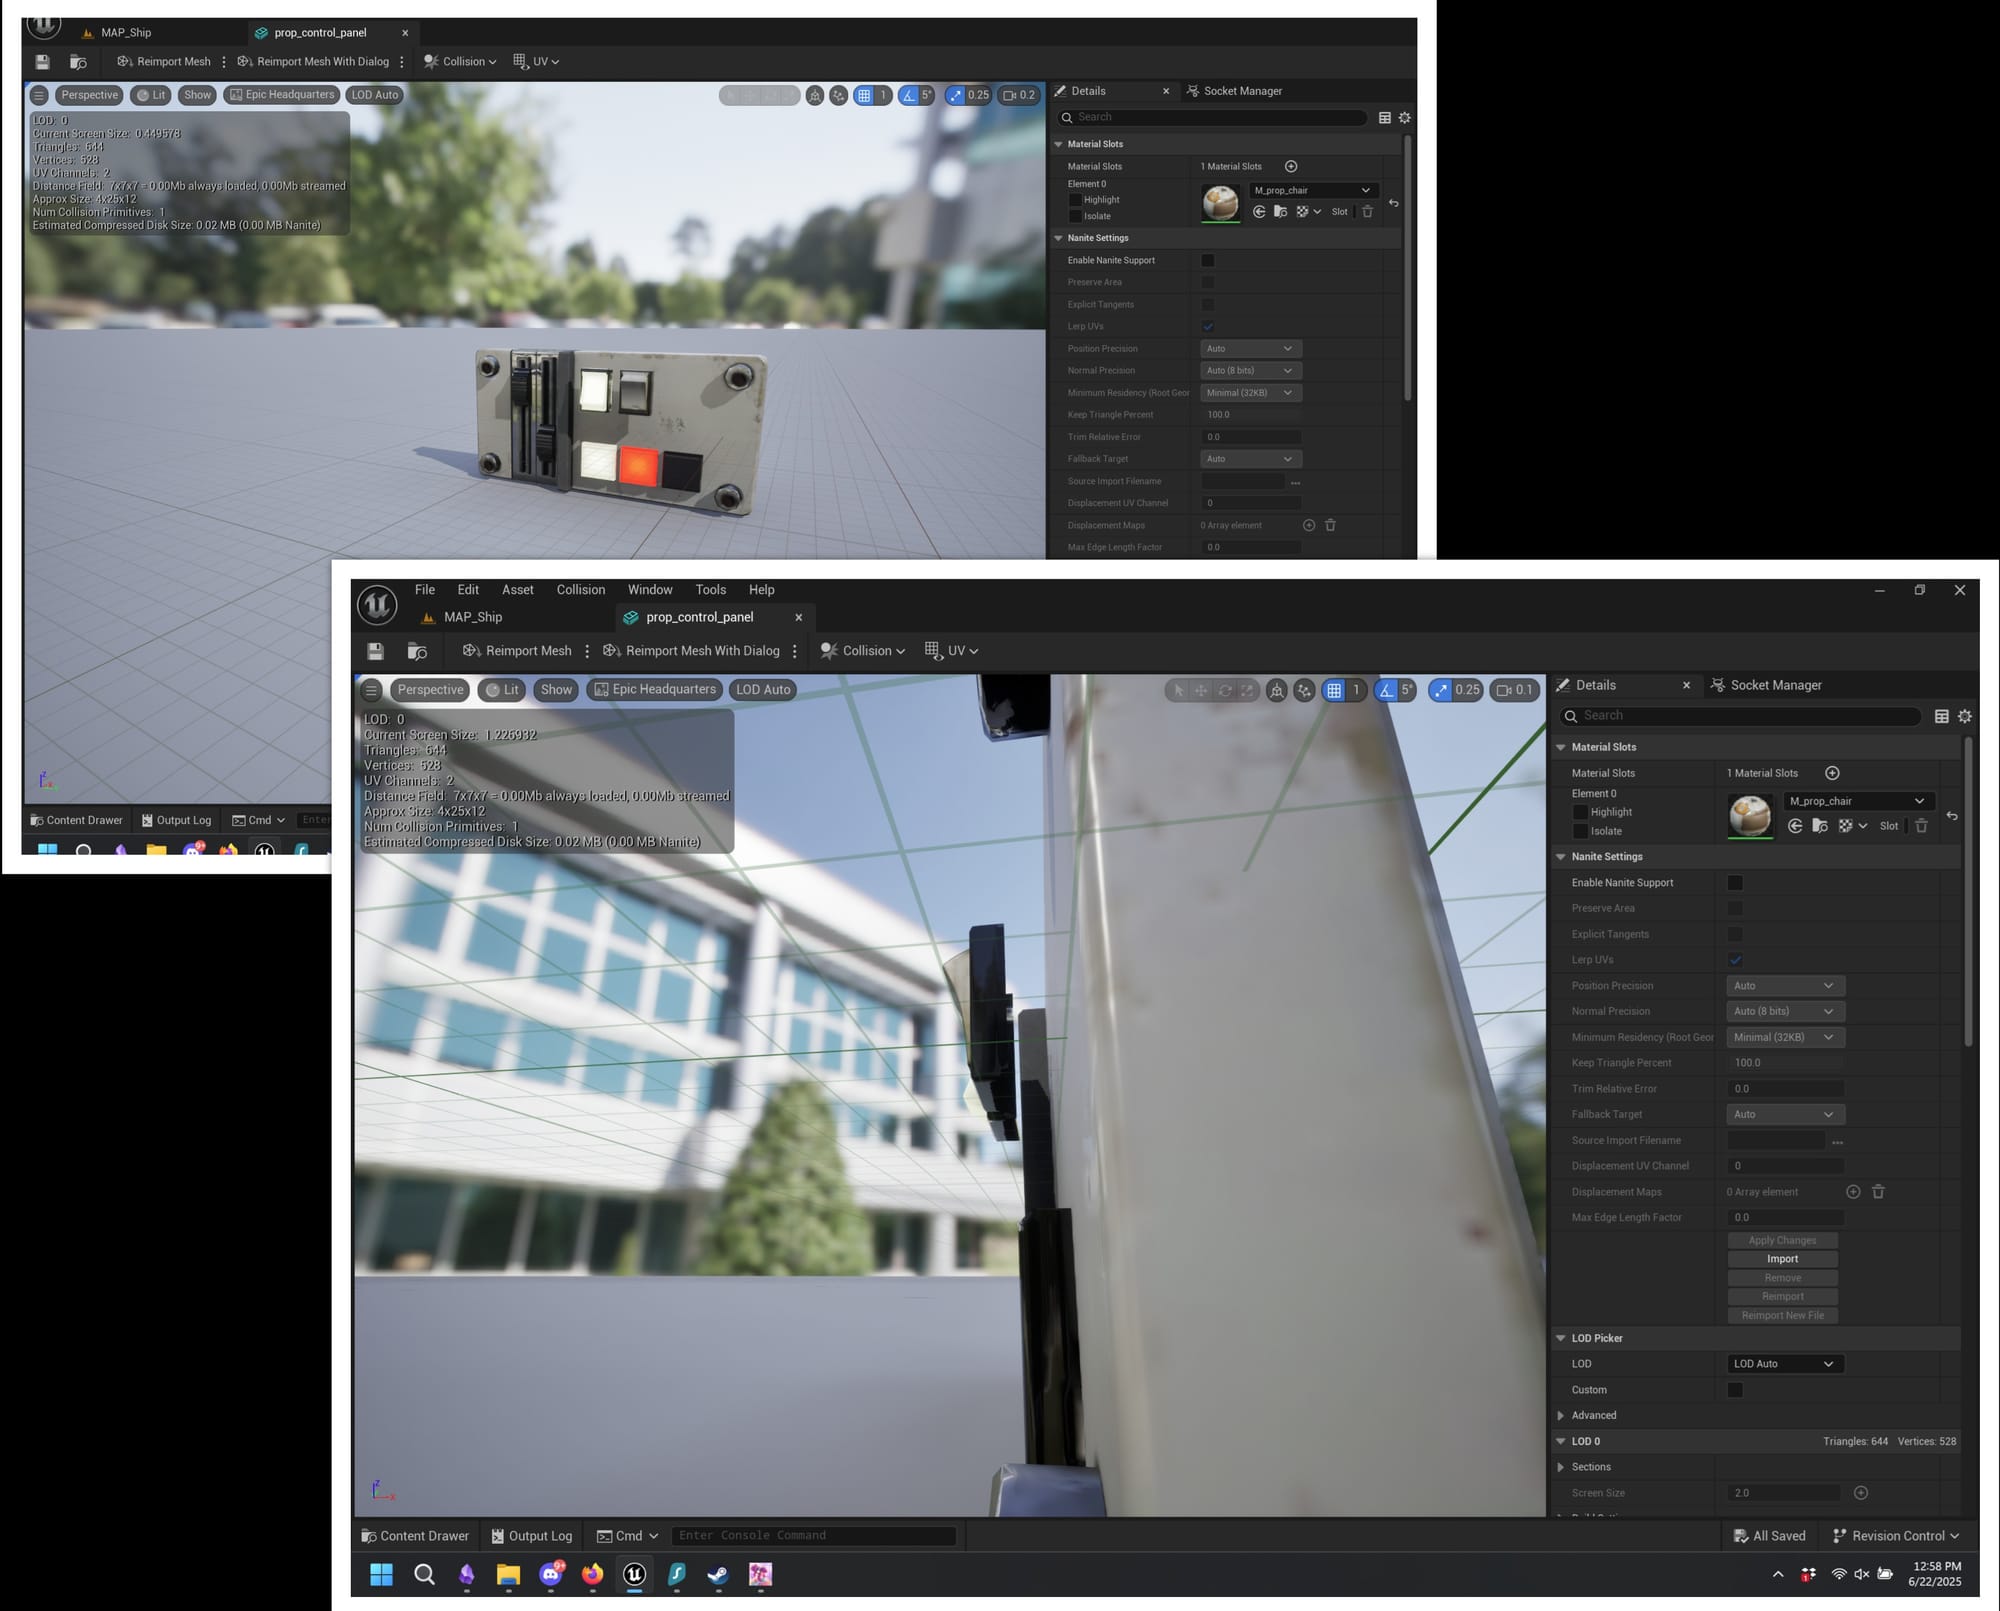
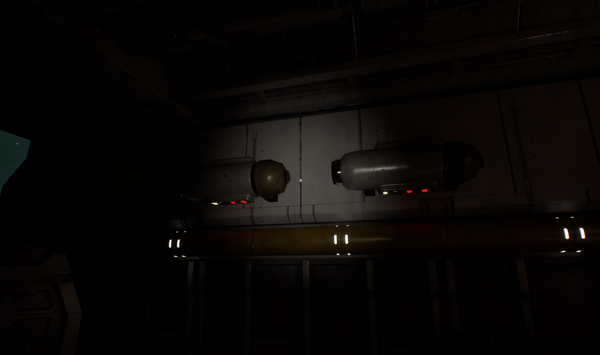
I noticed the buttons on the control panels were raised from the surface of the control panel. Not by much, but enough that my eye kept getting caught. I think this was a deliberate choice the original modeler made—raised elements catch the eye and in a lot of contexts, seeing the interactable part of a control panel better would be a smart design decision.
But for me, I really wanted those buttons flush with the surface. It was just bugging my eye.
Bite-Sized Perfection
This is exactly the kind of modification that makes sense to tackle in Blender - it's small, it's easy to do. The cost of the asset pack is still well worth the price but if I can make a surgical change to perfect an asset that's 99% of what I need, then that's a win.
So rather than hunt up a different asset or live with something that bothered me, I fired up Blender.
The Process
The plan of attack was simple:
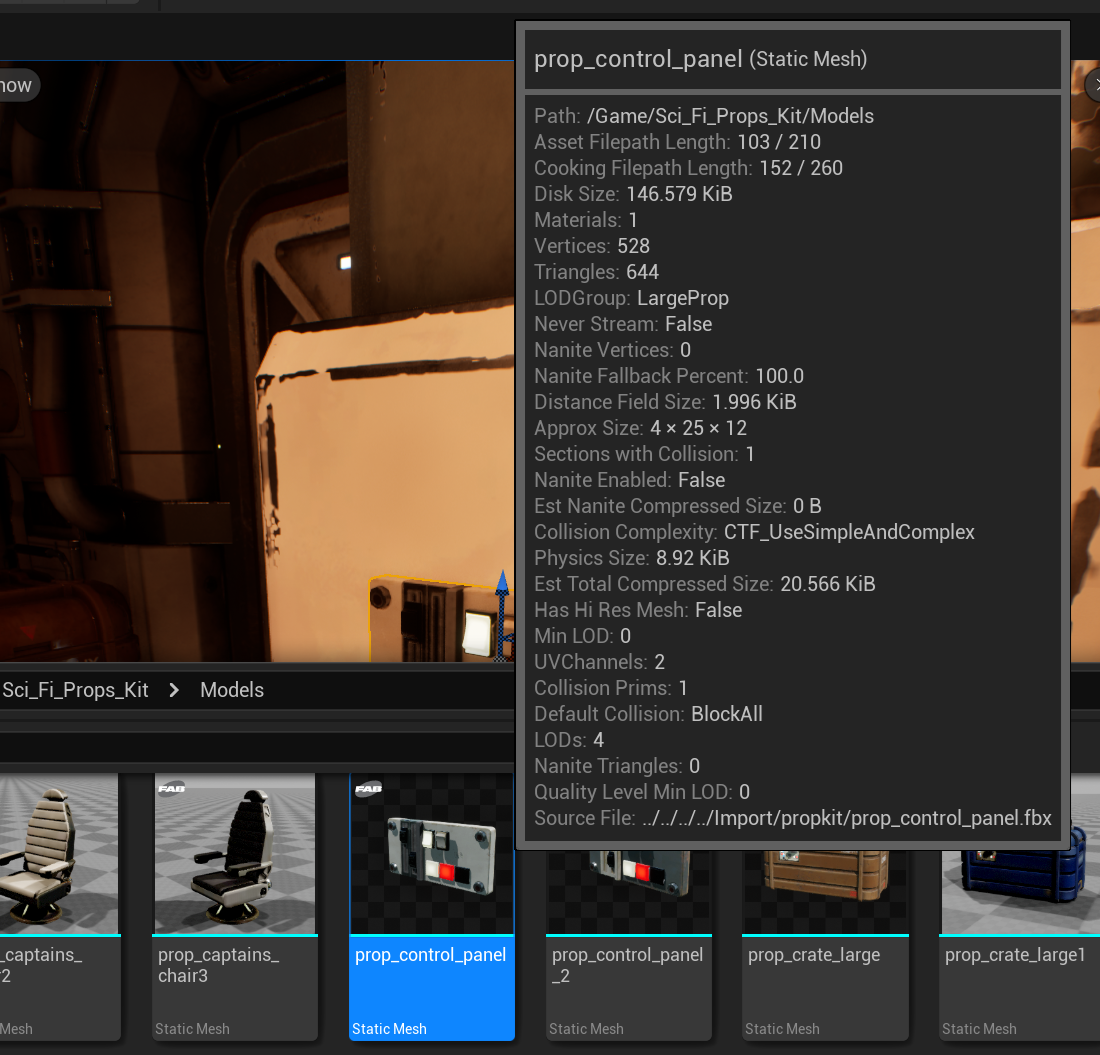
- Find the original FBX
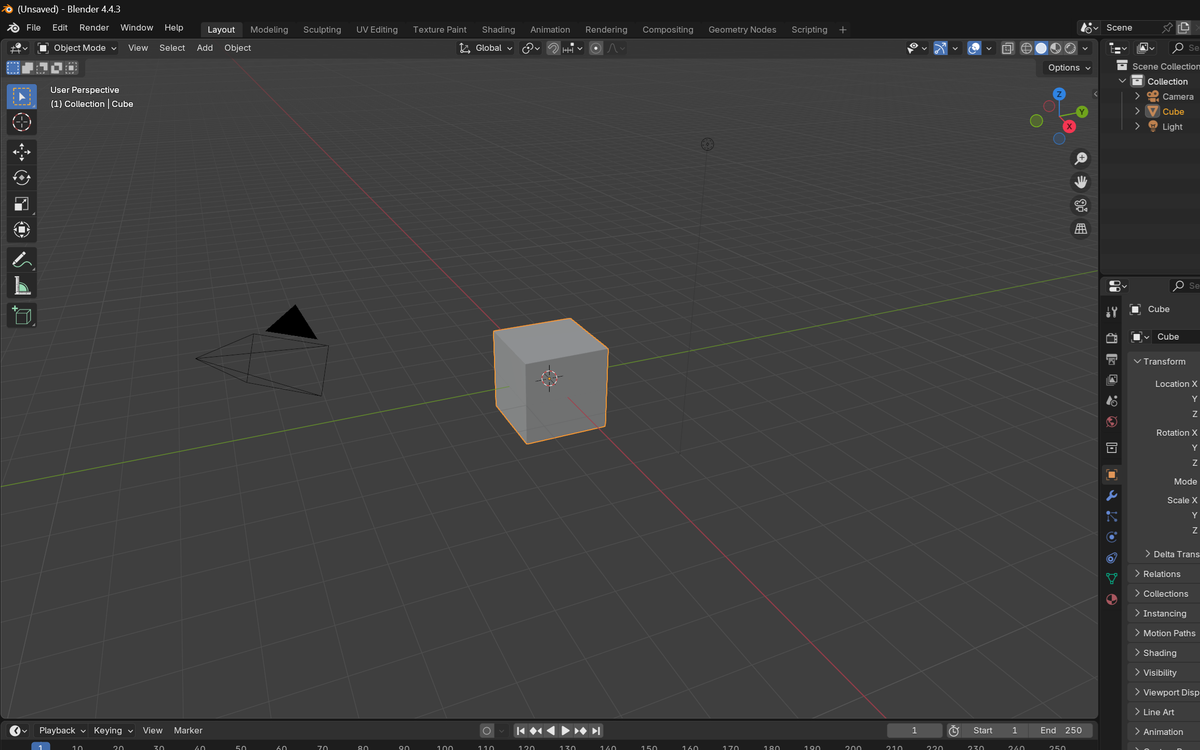
UE5's tooltip system shows you exactly where assets live, making this step painless. - Import into Blender
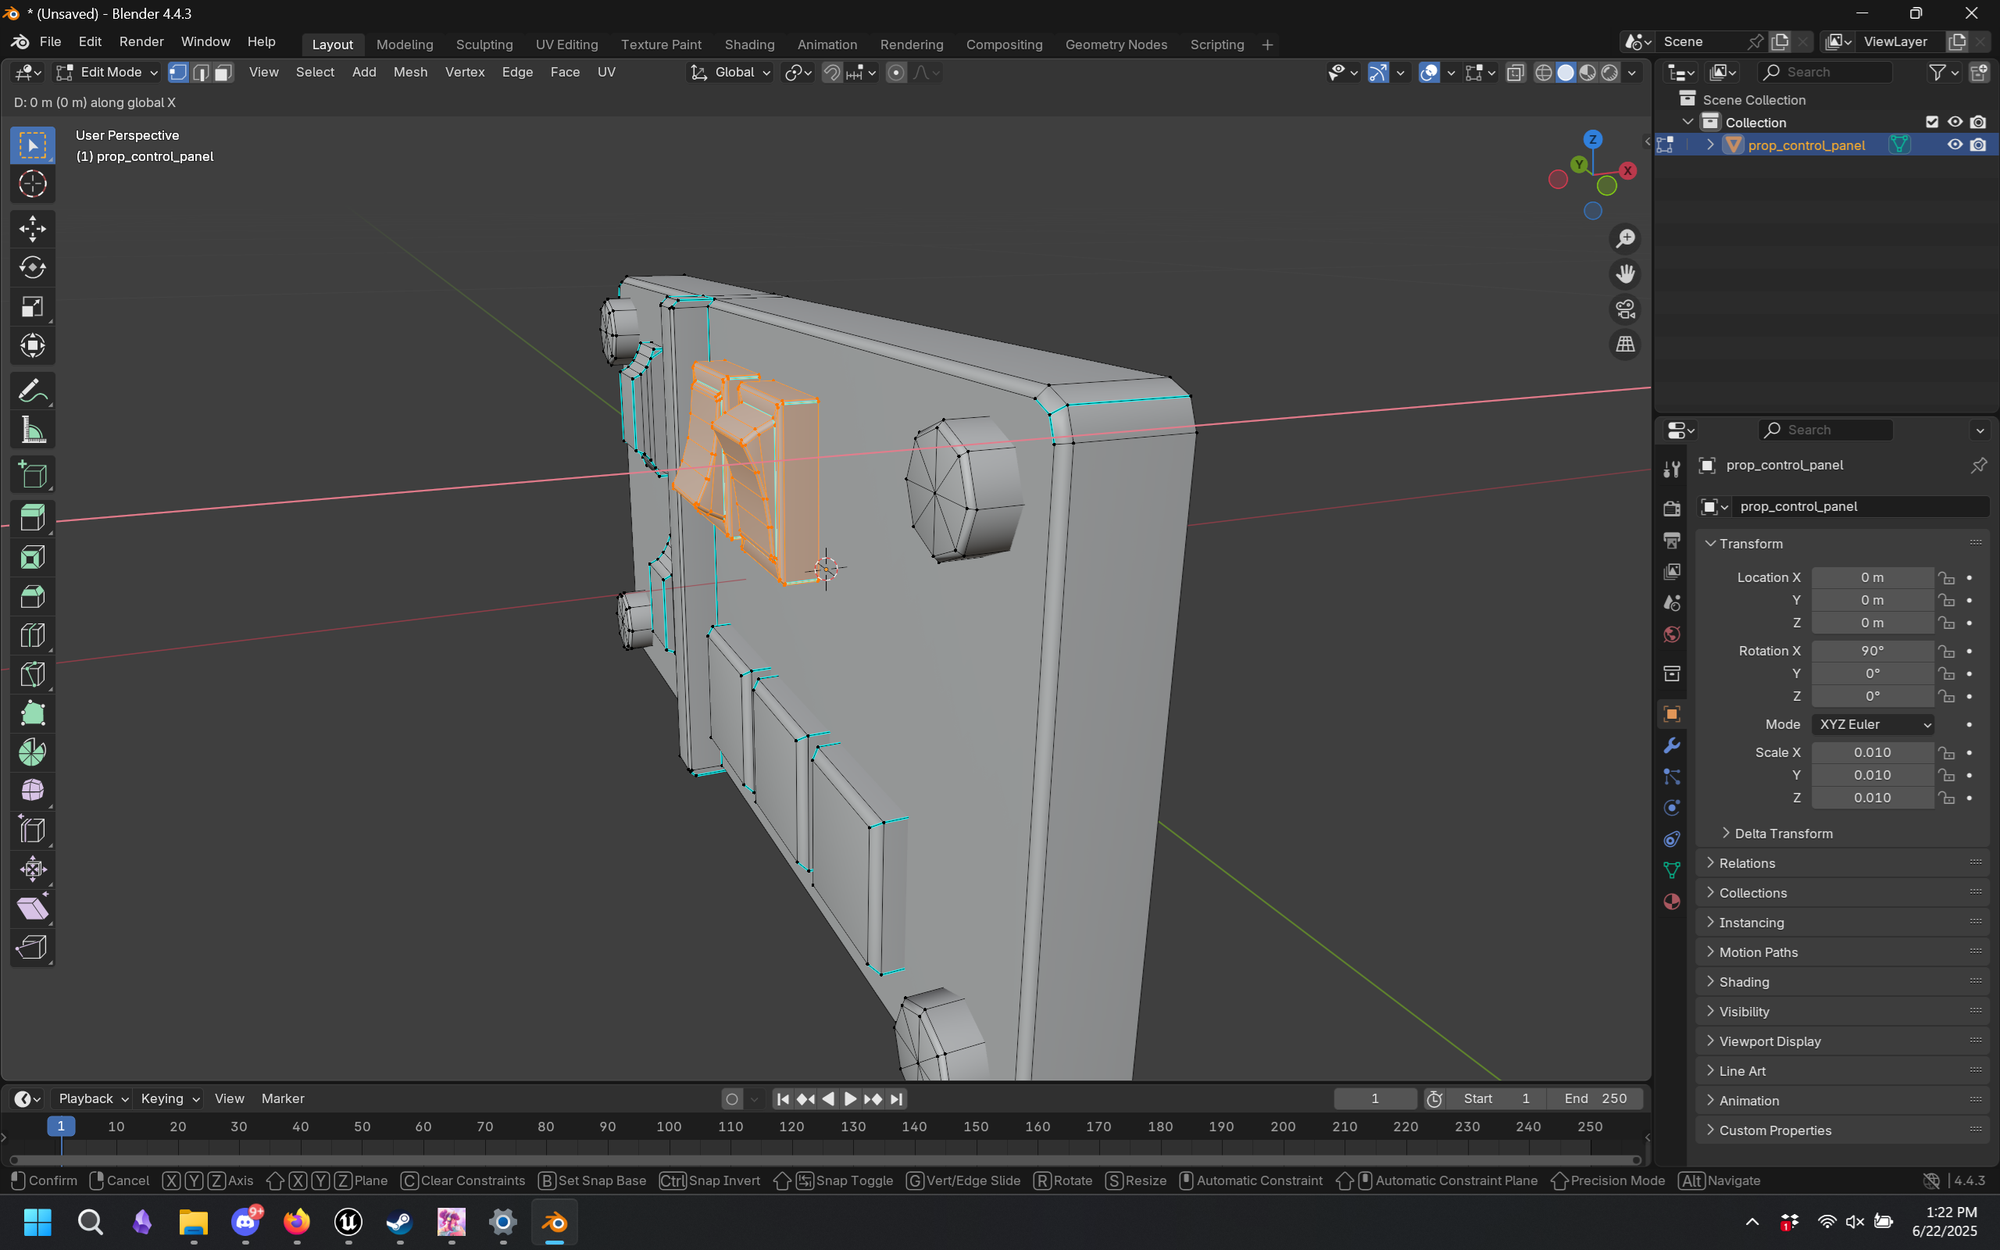
Blender works with FBX files natively. - Move the geometry
Select the raised button elements and move them down to sit flush with the panel surface. "Grab", "Constrain Axis to X", and then wiggle the mouse a bit.
- Export and reconnect textures
I exported the selected mesh back to the import directory as control_panel_modified.fbx. I then imported it back into Unreal, and set the material on the new mesh. - Replace in scene
Out with the old, in with the new.
The whole process was smooth. Since I was only repositioning existing geometry rather than adding or removing anything, the texture mapping stayed intact. No UV unwrapping, no material rebuilding - just move the buttons and export.
The Result
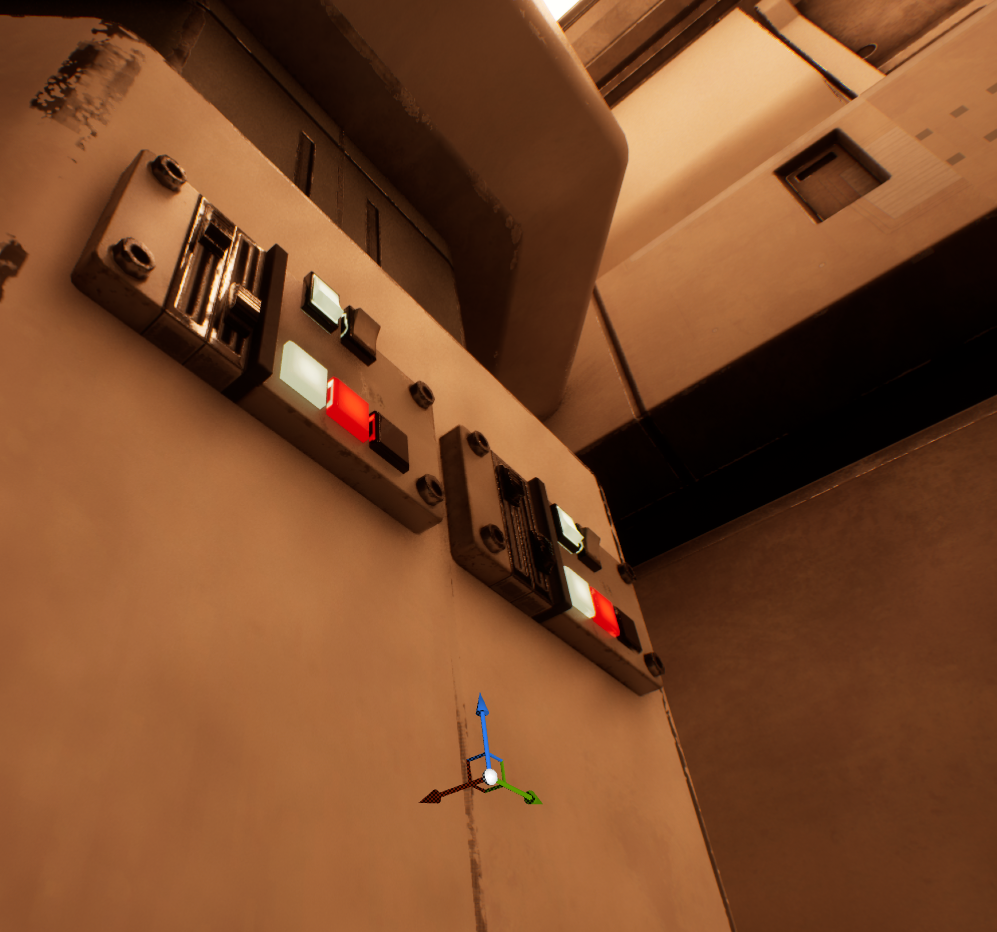
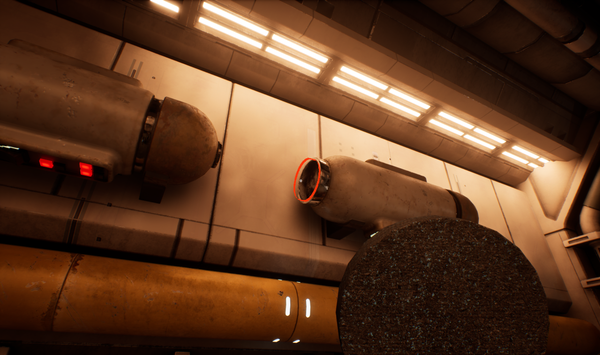
The difference is subtle but significant. The flush buttons bug me a lot less and I get to still use the professional modeling of the original asset.
Asset Reality
The buy vs build decision isn't binary - Buying the assets as a starting point before making targeted modifications is also an option. You get the benefit of quality modeling AND can adapt it perfectly to your vision.
The key is to recognize when modifications make sense. This button adjustment took maybe 20 minutes total. And now everything sits perfectly.